Knitting
Heart and Star Stuffies with Scrubby Yarn
May
Fun with Shaped Scrubby Stuffies
The absolute best thing about knitting your own stuffedscrubbies are the fun shapes you can do. All the store bought scrub pads are usually round, let’s be honest, we are knitters and that round scrubber is boring! Let’s get onto some exciting shapes, like heart and star stuffies with Scrubby yarn that we can use in the kitchen or the bathtub.

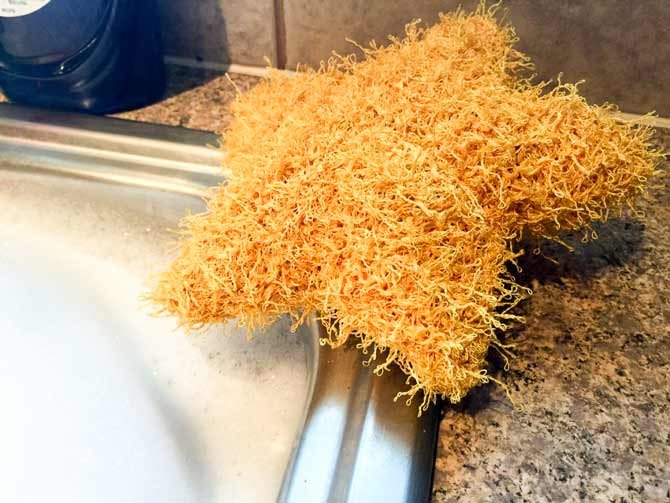
Star
The star shaped stuffy looks quite complicated, but I promise you, it’s very easy.
Legend
K- Knit
P- Purl
K2TOG- Knit Two Together
KFB- Knit in the Front and Back (Making One)
Materials
1 Ball Red Heart Scrubby in Duckie
5mm (US 8) needles
1 Tapestry Needle

Pattern
Cast on 10 stitches using your favorite cast on method. Turn work K2TOG, K7, KFB. Turn work again and K10 stitches along the wrong side. Repeat these two rows 5 times and secure stitches with your favorite bind off technique. The piece you have now should be a diamond shape, you will need to repeat this pattern nine more times for a total of ten diamonds.
Each star is made from five diamond shapes sewn together with a running stitch. Since the seaming and stuffing instructions are the same for both star and heart shapes, I’ll give you the heart pattern now. If you’re only interested in the star shape skip on down to Seaming and Stuffing.

Heart
The heart shapedstuffies are an excellent addition to seasonal decor as well as a cute project for loved ones.
Materials
1 Ball Red Heart Scrubby in Cherry (or Bubblegum)
5mm (US 8) Needles
1 Tapestry Needle
Cast on 4 stitches
Row 1: KFB, K2, KFB
Row 2: K6
Row 3: KFB, K6, KFB
Row 4: K8
Row 5: KFB, K8, KFB
Row 6: K10

At this point you’ll have half of the top of the heart. Cut your yarn, slide it further down your needle, cast on another 4 stitches and repeat instructions for rows 1-5.
At this point you’re knitting across the back of the second heart bump, when you are one stitch from the end, bring your first heart bump up next to the second one and knit the last stitch together with the first stitch of the next heart bump and knit your way across.

Knit two rows plain, on the next row, K2TOG, place stitch marker, K until the last two stitches and K2TOG. K next row plain. Repeat these two rows until there are only 3 stitches left. Slip first stitch, K2TOG, and pass slipped stitch over. Cut yarn and pull the tail through the last stitch. Pull tight.

Seaming and Stuffing
With two shapes complete, place one on top of the other and sew around the outside edge. Instead of having to weave in all the ends from knitting each piece, you are able to tuck them inside with the stuffing. For stuffing, use 100% polyester to match the Scrubby yarn. H.A. Kidd and Company has some here that would work really well.

Now, I’ll say that sewing up these shapes with the Scrubby yarn does take a little getting used to. I’m something of a purist and didn’t want to use another fiber to sew the seams.
TIP Don’t place the needle far from the edge when you’re sewing the seams, just use the very edge of your shape.

These heart and star stuffies with Scrubby yarn are excellent for adding a bit of interest to your dish washing or bath time. The interesting shapes are a riot for toddlers in the bath and who knows, they might help convince a teenager to help out with dishes…no guarantees though!