Creative Sewing
Bra-making 101 – Part 2
May


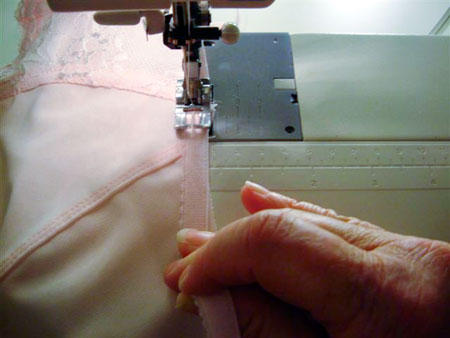
In Part 1 of Bra-making 101 (ANPTmag Summer 2013) we described the measuring process and the supplies required to make your own bra. Included was the layout diagram so you should have your bra all cut out at this point and other supplies you will need at hand. Ready? Let’s start our sew-along!
It is recommended that you consider your first bra a trial garment, so you can perfect the fit if need be. A bra is not like other garments – you need to finish a bra before you can really tell which parts need fixing. Sometimes, if the bra is tried on before it is completed, we might mistake areas that need adjusting; but when the bra is completed, that area may not have needed any alterations at all. If you are concerned about wasting fabric and supplies, sew it together with longer straight stitches and big zig-zag stitches so they can be easily picked out.
Read more in our Festive 2013 issue.
by Beverly Johnson
Bra-makers Supply
308 Ottawa Street North
Hamilton, Ontario L8H 3Z9
905.538.1396
www.bramakers.com
Comments are closed.