No products in the cart.
Return to shop
Showing 41–60 of 143 results
Embroidery
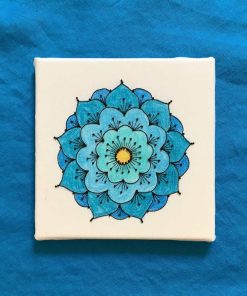
Diamond Petals
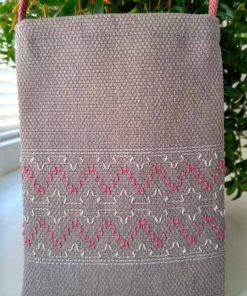
Starry Sky Bag
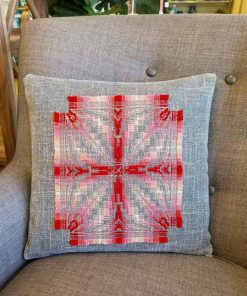
Serendipity Colour Play Cushion Cover
Party Favours
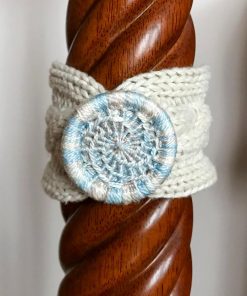
Knit Cuff Bracelet
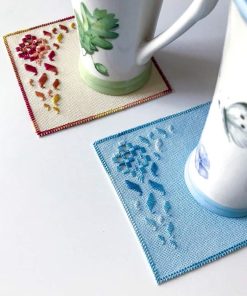
Rainy Day Mug Rugs
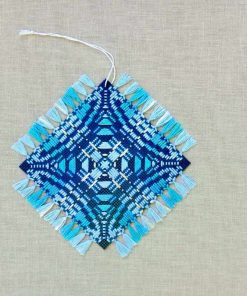
Pavouk Talisman
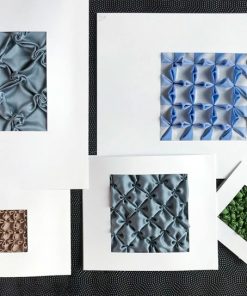
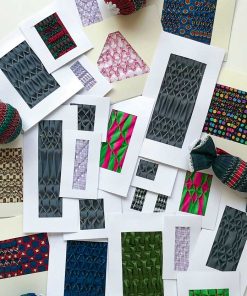
The Beauty of Texture Part 4
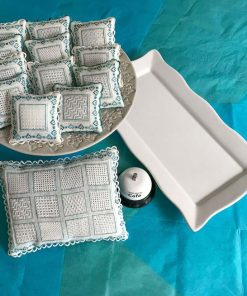
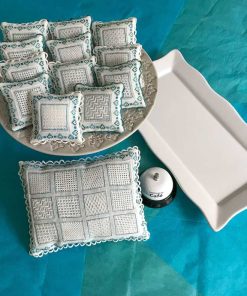
Pulled Thread Pastries Part 2
The Beauty of Texture Part 2
The Beauty of Texture Part 3
Pulled Thread Pastries
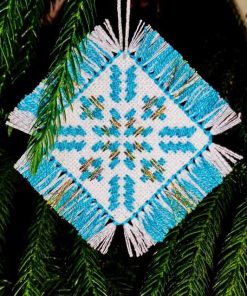
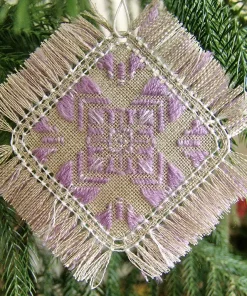
Belarusan Nizanka Snowflakes
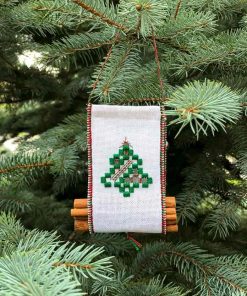
Yule Log Tote Ornament
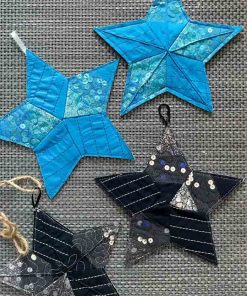
Twinkle, Twinkle Little Star Ornaments
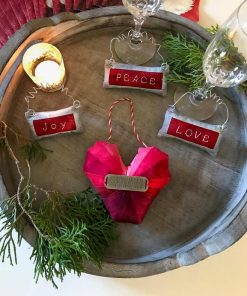
A Piece of My Heart Ornaments
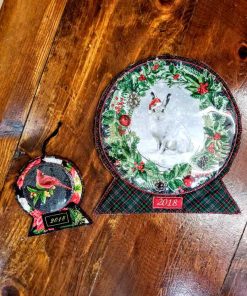
Snow Globe Ornament
Vishuddha
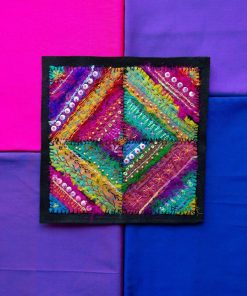
Indian Splendor
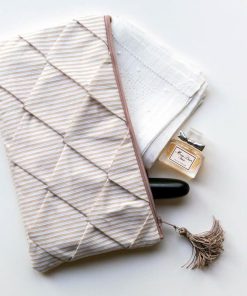
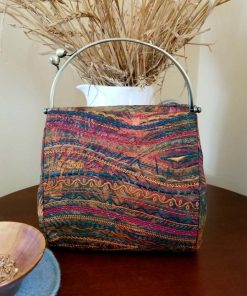
The Stupendous Stitching Clutch Purse
Username or email address *
Password *
Remember me Log in
Lost your password?